Click for more info and reviews of this Thule Hitch Bike Racks:
https://www.etrailer.com/Accessories-and-Parts/Thule/7525491002.html
Check out some similar Hitch Bike Racks options:
https://www.etrailer.com/dept-pg-Accessories_and_Parts-sf-Hitch_Bike_Racks.aspx
https://www.etrailer.com
Don’t forget to subscribe!
https://www.youtube.com/user/etrailertv
Full transcript: https://www.etrailer.com/tv-review-thule-replacement-short-arm-assembly-for-thule-easyfold-xt-bike-rack-7525491002.aspx
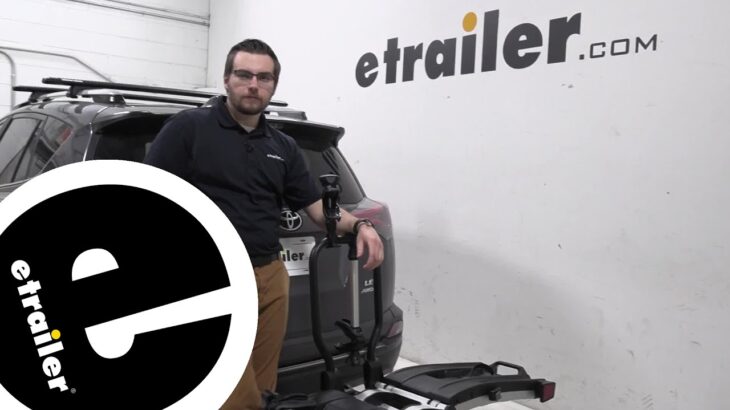
Hey, everybody, welcome to etrailer.com. I’m Bobby and today we’re taking a look at the short arm assembly replacement part for your Thule EasyFold XT bike carrier. So, it’s gonna be a pretty straightforward way of making sure that if you do find yourself damaging or otherwise your arm isn’t quite working how we need it to, we can quickly get it replaced. That way, we can start using our EasyFold once again. So, really straightforward design here of how we can get these in place. Let’s go ahead and start taking a look of how we can get it installed.
The one little caveat I’ll give you though, there are gonna be a little more necessary steps to make sure that our locking cores are actually ready to be utilized. And what I mean by that is your locking core here is gonna be different than what you might have on your EasyFold. So, it may require you to make a secondary purchase here for the locking core and the master control key to actually start getting them exchanged. Other than that though, it’s gonna be a pretty straightforward install. Let’s go ahead and see how we get our new arm in place.
So starting on our old arm here to actually take it off, what we need to do, we just need to unlock it. Spin it lefty loosey. That’s gonna give us the necessary room we need to pull that up. And as you can see, that simply undoes that hold right there. And that release allows us to take it off of our post.
With our new one in hand, we simply take it once again, back it off to where I can open this up. Just like so and then I can simply set that on my arm. You can see where it fits within the hole. Open it again, latch it down and just like that we’re installed. Otherwise, all we have to do tighten this up.
And like I said, I think the big worry for us at home is making sure that we have the correct locking core on here, that way we can actually keep everything keyed alike. Now, can you have separate locks on here Yeah, but that’s one more key to keep track of on your key ring. I’m sure it’ll be pretty annoying finding which one is right all the time. In my mind, I think a lot of us are gonna go for that convenience of having it keyed alike. albeit that can take just a little bit more work on our end. But other than that though, once we get that locking core in place, it’s ready to rock and roll. Now we can start utilizing our EasyFold, just like we we’re before. That way, we can start having some fun on those trails which is great. So, really like how simple this is to actually get fixed and get replaced. If you have an issue with your arm, hopefully now it’s replaced. We can start having a good time. Otherwise though, I think that about does it for our look here today at the small arm replacement assembly here for your Thule EasyFold XT bike carriers here at etrailer.com. I’m Bobby, thanks for watching..


![[Ghost of Tsushima ]へっぽこ冥人がエアロバイク漕ぎながら垂れ流し[月キャンマン]](https://haige-shop.com/wp-content/uploads/2025/05/Ghost-of-Tsushima--730x410.jpg)