“Quick Guide: Replacing Your Fence Post”
Description:
Learn how to replace a damaged or rotting fence post with this comprehensive guide. We walk you through each step, from removing the old post to installing the new one, ensuring your fence remains sturdy and secure. With easy-to-follow instructions and expert tips, you’ll have your fence looking as good as new in no time. Whether you’re a seasoned DIY enthusiast or a beginner, this guide will provide all the information you need to tackle the project with confidence. Discover the tools required, safety precautions, and best practices to ensure a long-lasting and durable fence post replacement.
How to Replace a Rotten Fence Post: A Step-by-Step Guide
1. Gather Your Tools and Materials:
• New fence post
• Post hole digger or shovel
• Hammer or mallet
• Level
• Gravel or concrete mix
• Nails or screws
• Drill or screwdriver
• Saw (if needed)
• Work gloves
• Safety goggles
2. Remove the Old Post:
• Detach the Fence Panels: Carefully remove the fence panels attached to the rotten post by unscrewing or prying off nails. Support the panels to prevent damage.
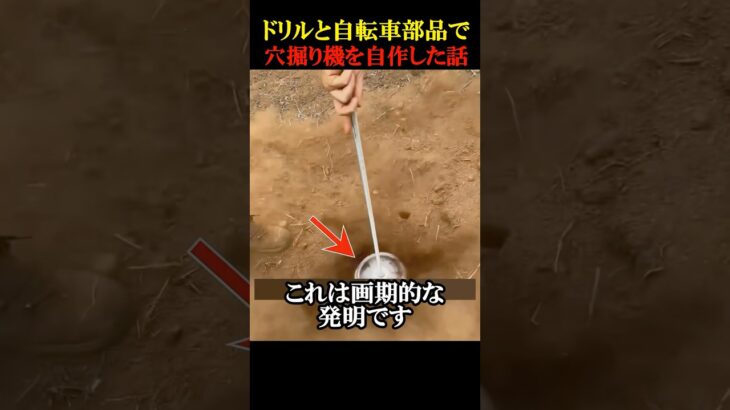
• Dig Around the Post: Use a post hole digger or shovel to dig around the base of the rotten post. Make the hole wide enough to loosen the post.
• Remove the Post: Wiggle the post back and forth to loosen it further. If it’s set in concrete, you may need to break up the concrete or dig deeper to free the post.
3. Prepare the Hole:
• Clear Debris: Remove any remaining pieces of the old post and clear out any debris from the hole.
• Check Depth: Ensure the hole is deep enough to accommodate one-third of the new post’s length. Typically, this means a depth of about 2 feet for a 6-foot post.
4. Set the New Post:
• Add Gravel (Optional): For better drainage, pour a few inches of gravel into the bottom of the hole.
• Position the Post: Place the new post into the hole, ensuring it’s centered and upright. Use a level to check for plumb (vertical alignment).
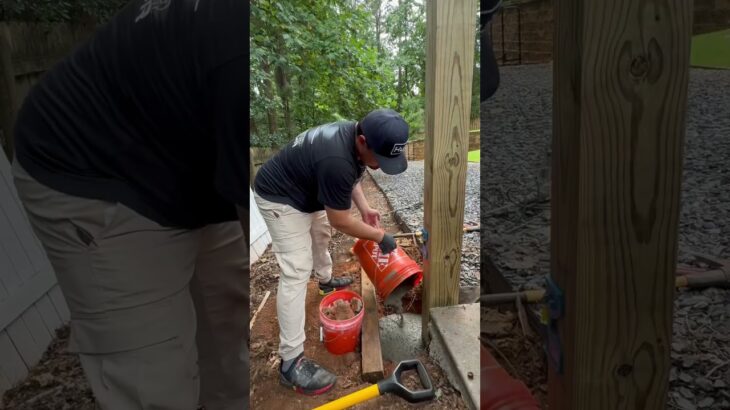
• Add Concrete: If using concrete, mix it according to the manufacturer’s instructions. Pour the concrete into the hole around the post, filling it up to ground level. Alternatively, you can backfill the hole with soil and tamp it down firmly.
5. Secure the Post:
• Check Alignment: Use the level to ensure the post remains plumb while the concrete sets or as you tamp down the soil.
• Allow to Set: If using concrete, allow it to cure as per the manufacturer’s instructions, usually 24-48 hours.
6. Reattach Fence Panels:
• Position Panels: Once the post is secure, reattach the fence panels using nails or screws. Ensure the panels are level and properly aligned with the rest of the fence.
7. Finishing Touches:
• Check Stability: Ensure the post and panels are stable and secure. Make any necessary adjustments.
• Clean Up: Remove any excess materials and clean the area around the new post.
By following these steps, you can replace a rotten fence post and restore the stability and appearance of your fence.
